
To remove the background from any image with Pixel Feather's pullmatte application...
For a first attempt use an image not too much larger than your computer screen size. This size should work with the pullmatte application default options (if you have a 64 bit windows OS Pullmatt64 will work on larger files).
Open an image file with the open file menu, icon or keyboard shortcut CTRL + O
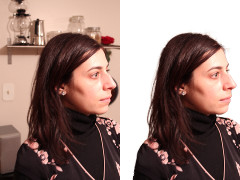
Select the foreground brush
Paint over the image to characterise foreground pixels. Pay special attention to the edges. Yet paint without going into regions that are not definitely foreground or not definitely background. Leave those regions for the application to resolve.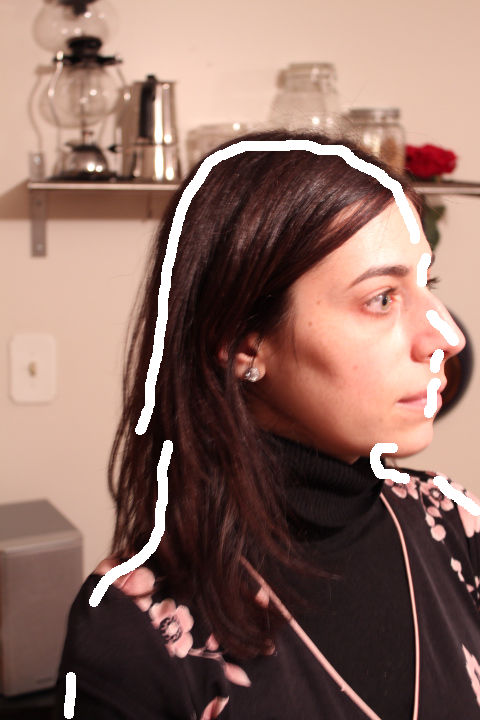
Select the background brush.
Do the same for the background of the image.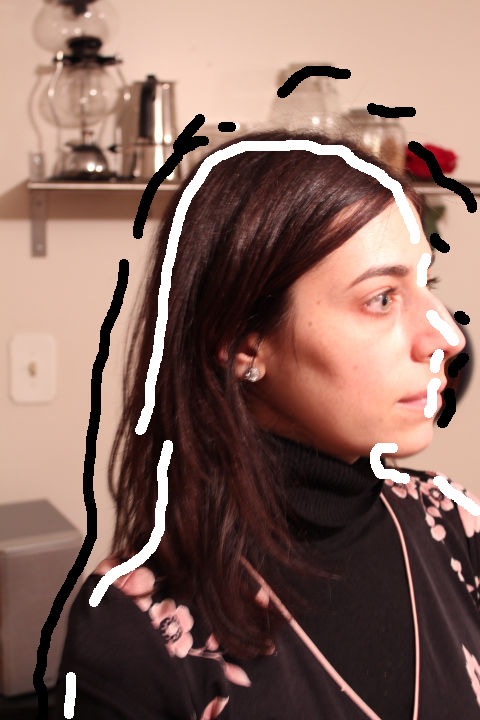
Now scale up the brush size and quickly blot out easily accessible large areas.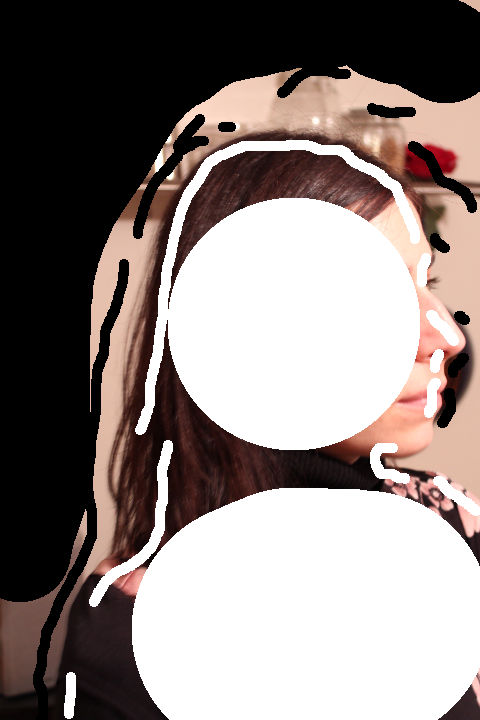
This is important as it significantly reduces the calculation time and computer resources. Alternatively if the foreground region is much smaller than the background region go into the view mode (Pixel Feather mode button).
And drag the mouse to select a smaller region of interest (ROI) and from the edit menu select “Calculate From Selection” or use the CTRL + F keys. The calculation will only be performed over the ROI. Click the Pixel Feather mode button to toggle back to edit mode.
Save your input (brush strokes).
In edit mode the “Save” button saves the user input while the same button saves the image and pulled matte in preview mode.† choose a name for the input file and save it while in the edit mode. If the programme requires too many resources it may crash. If you save your input you can quickly get back to where you were and try other calculation options before you pull the matte.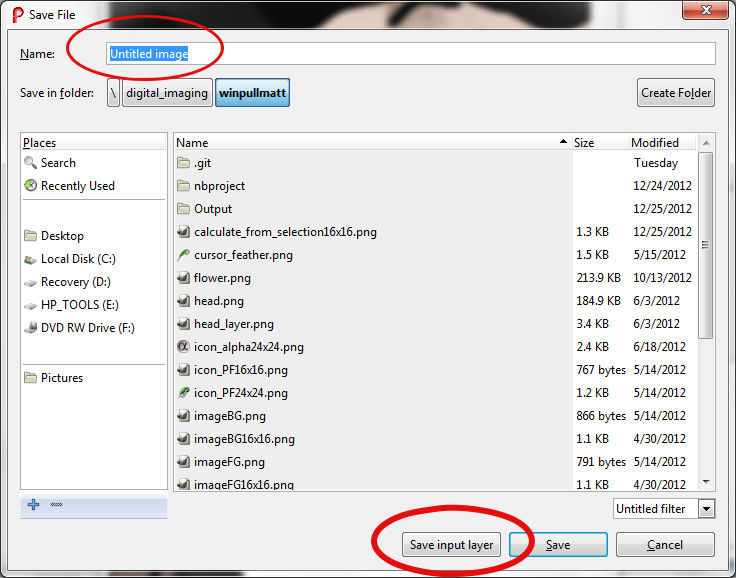
In edit mode click the calculate button. to pull the matte
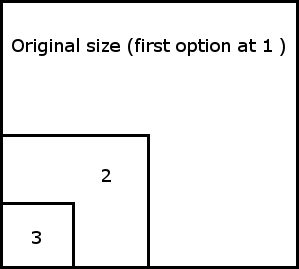
This gives some calculation options. The most useful of these are the first two, but mostly the first option. The first option is for scaling the image down to pull the matte. The resultant matte is then scaled up based on the image data at its original size.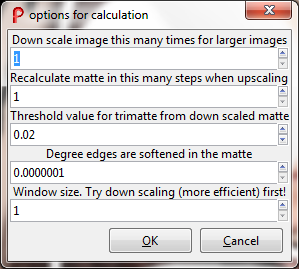
If the options seem ok to you click ok and wait for the result. When the calculation is finished the trial version pops up a dialogue about the trial period. Click ok. The programme switches to preview mode and you can view the result and save it. It may not be apparent how well the matte has been pulled so while in trial mode click the Alpha button to view the alpha channel or matte that has been calculated.
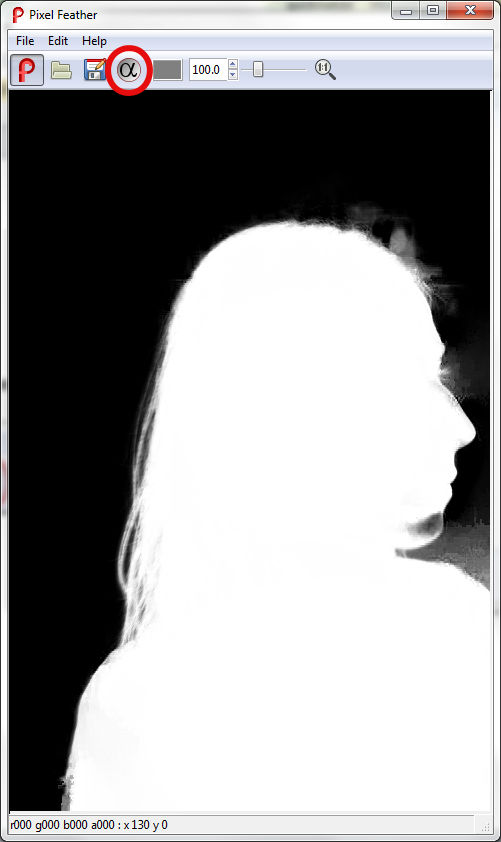
This will more obviously show regions that require more attention.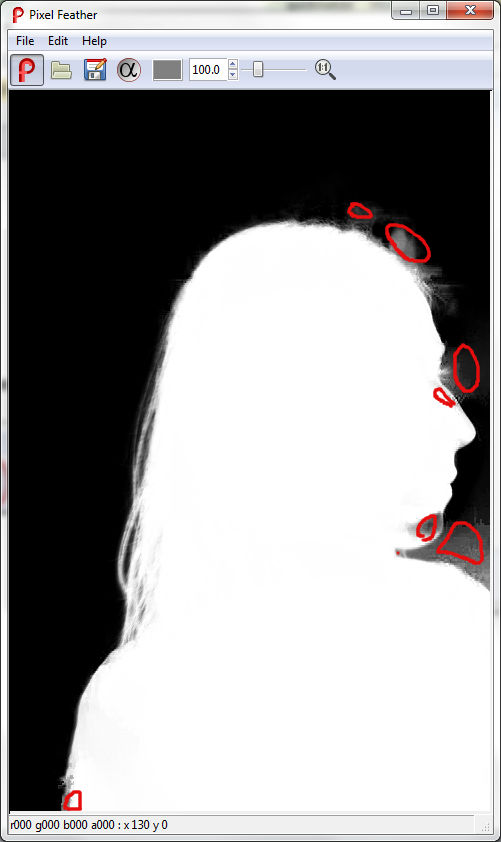
Go back to edit mode and add extra foreground and background strokes. The following strokes give the shown matte.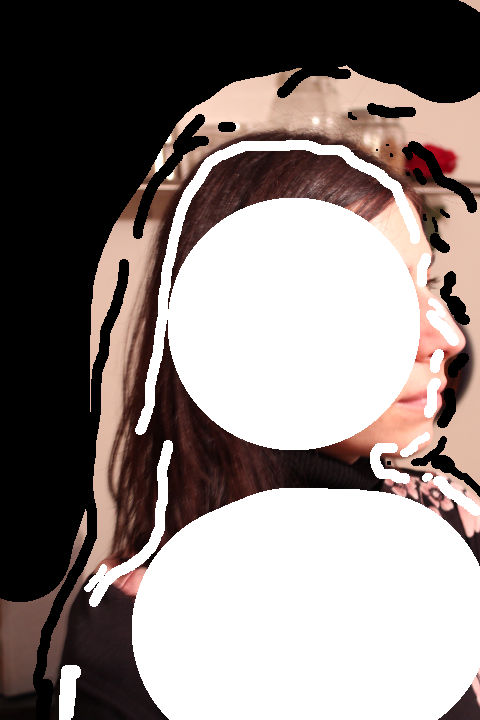
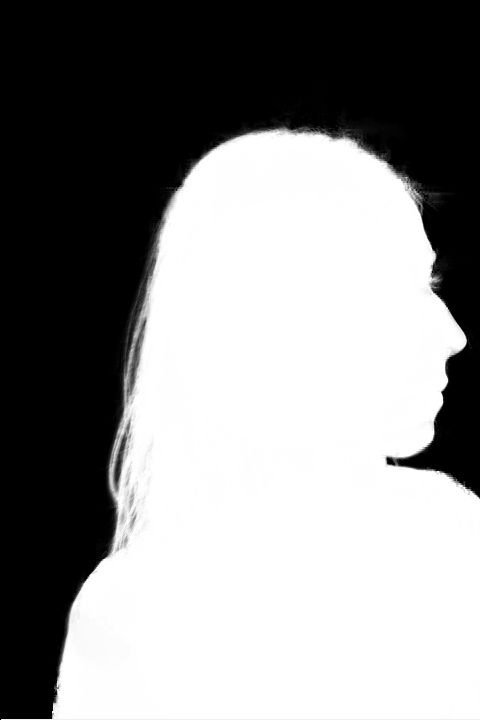
That matte applied to the original image yields the following image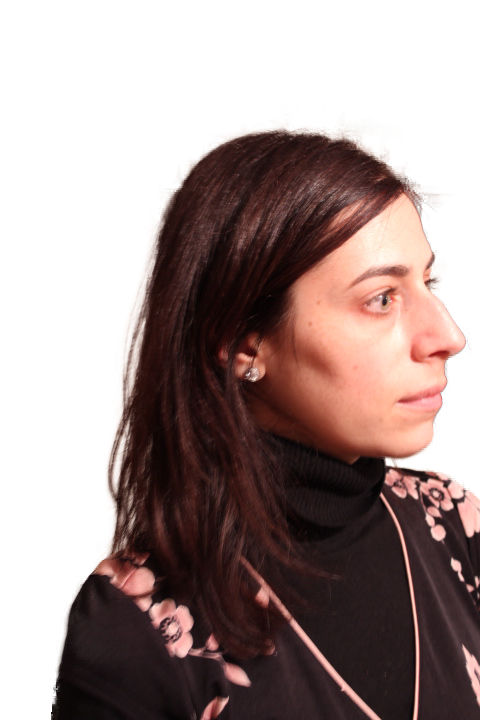
† In edit mode the “Save image” button saves whatever format the original image was in as a png (portable network graphics) file and is therefore really only useful as a file conversion function to the png format.